Vocal is an important element for Electronic Dance music because it adds an organic touch to the song and its effect cannot easily be done through synthesizers. In order for the vocal to fit perfectly in the mix, we need to make sure the vocal is welly treated to avoid any mixing troubles.
Today we are going to show you how to treat your vocal with native tools from FL Studio if you cannot afford expensive 3rd party plugins. The concept can be applied in other DAWs as well.
Let’s get started.
Pitch Correction
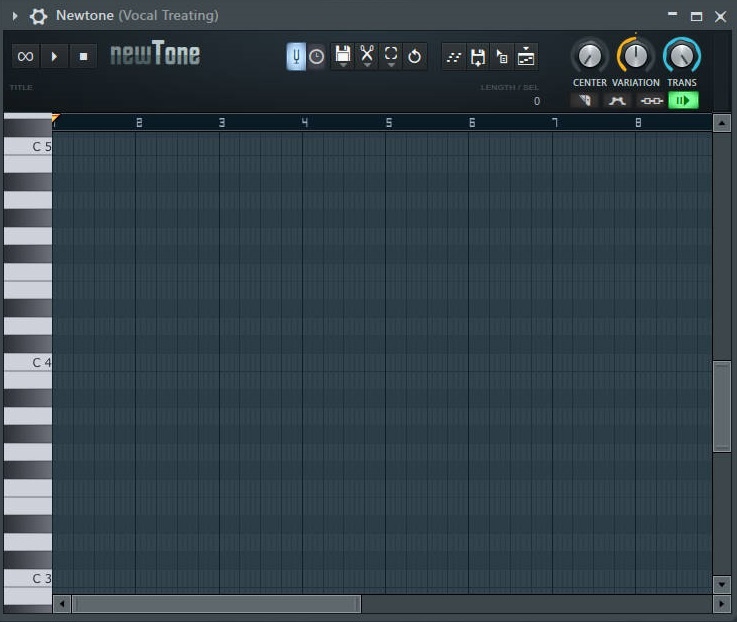
This step is put the vocal to be in key. Singers aren’t perfect and they can be a little shaky and miss some notes. We can do pitch correction using newTone or Pitcher but I personally prefer newTone as you have more control of what you are going to do. We want to place the pitch of our vocal within the scale so that it won’t be out of key. Some of the most famous 3rd party plug-ins for pitch correction are Antares Auto-Tune and Melodyne.
Gating
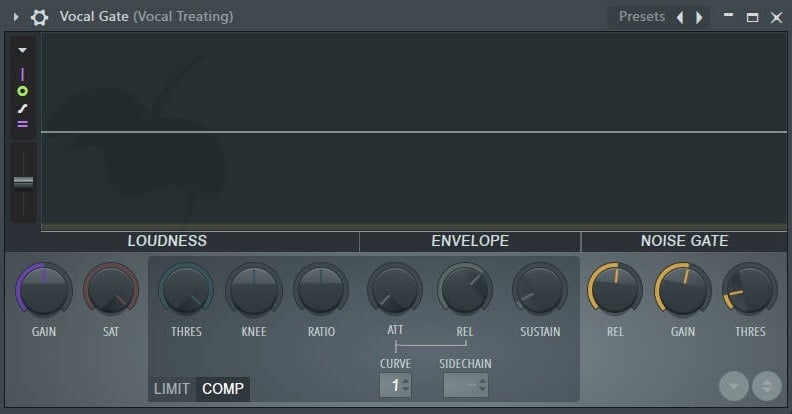
The next thing that we need to do is to get rid of background noises because they are annoying and they can ruin the mix. Some examples of background noises are people talking in the back, headphone output bleeding into the microphone or computer noises. We can get rid of the noise by using a Noise gate. For FL Studio users, it can be found in Fruity Limiter. Any audio signal under the threshold will be muted or silenced so set your threshold carefully. Play with the release knob to get a natural sounding result from your noise gate. The gain knob indicates the amount of dBs you want deduct with the Noise Gate.
De-essing
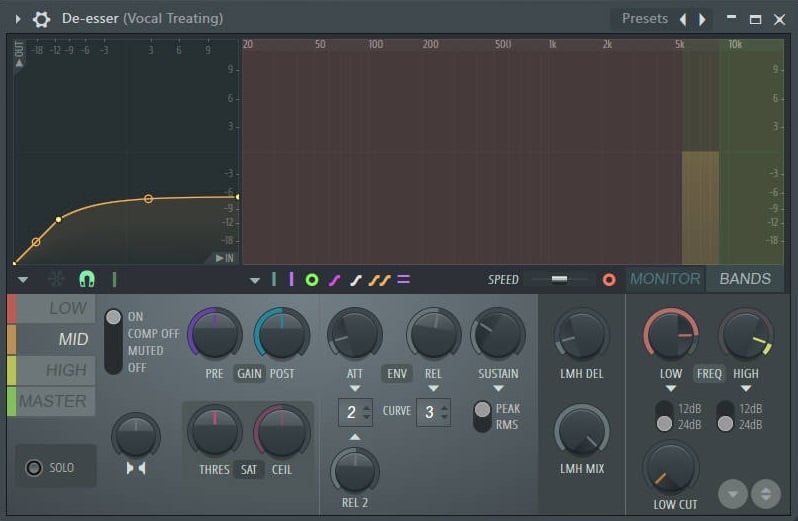
The main purpose of De-Essing is to remove the ‘hiss’ sound or sibilance from the audio recording. They will form harsh frequencies in the high end and can be irritating for the listeners. De-essers are multiband compressors designed to remove sibilance from a vocal recording. For FL Studio users, we do not have a de-esser plugin but it can be done through Maximus. You can use the de-essing presets and adjust the bands according to your vocal recording.
EQ Treatment
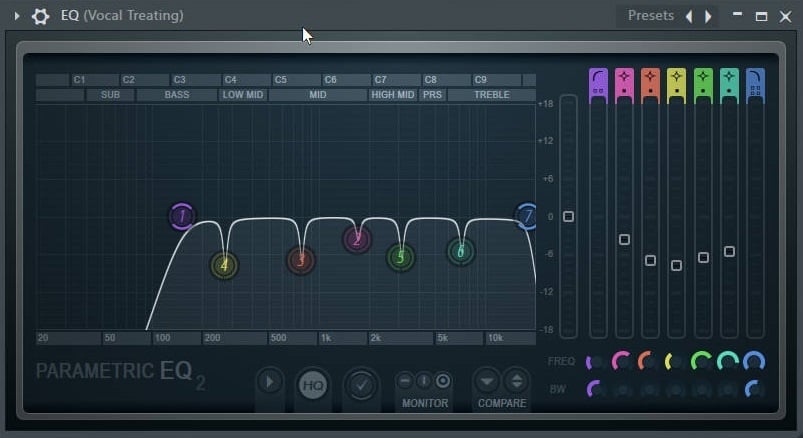
After removing the sibilance, it’s time to remove the resonating and unwanted frequency of the vocal recording. For me, I usually start with adding a high pass filter to remove the unwanted low frequency of the vocal recording. Then, I use ‘bell’ filter to find out and reduce the resonating frequencies. This step may be difficult for the beginners if you do not have the ears to identify the resonating frequencies. I usually cut off more low frequency when I’m working with female vocals.
Compressor
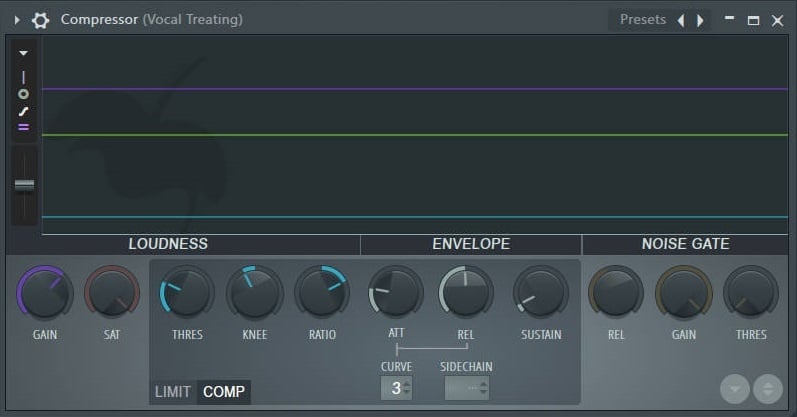
After we finish taking care of the unwanted frequencies, it’s time to take care of the dynamic range of the vocal recording. Humans aren’t robots. That’s why we can’t maintain a constant loudness while we are recording the vocals. Sometimes we can feel the loudness difference listening to untreated vocal recording. I like to use compressors to control its dynamic range. For FL Studio users, I prefer using Fruity Limiter for that as I love having visuals while I’m doing my compression. I always tend to use light compression on vocal recordings because I do not want to ruin its quality by over-compressing.
Imager
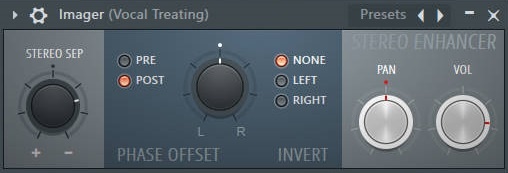
It is essential for the vocal recording to stay in the middle of the mix so that it doesn’t lose power when we play it in mono playback system. Therefore, we need to make sure vocal recording is in mono. We can use stereo imaging plug-ins to do so. For FL Studio users, it can easily be done with Fruity Stereo Enhancer. I like to have my stereo separation 50% merge so that it doesn’t contain any side/stereo signal.
Here are the steps of how I treat my vocal in FL Studio.
How do you treat your vocal?
Share with us in the comment section below.
Thanks for the read.
Have a nice day!
Your W. A. Production team



_Cropped.png?width=1600&name=02%20(2)_Cropped.png)


Your Comments :